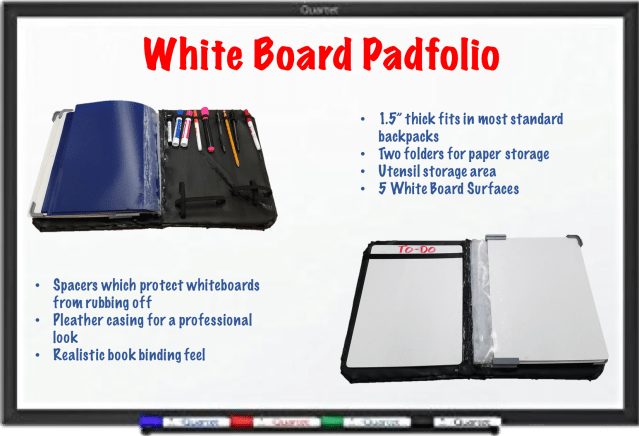
My final Project for DIY Design is a white board pad-folio. The whiteboard pad folio allows users not to have to use paper for back of the envelope calculations. In addition due to the prevalence of apps like CAM Scan people can take notes in the padfolio and have them stored permanetly.


Mood Boards
This first mood board is the ideal consumer for my product. The consumer is a working professional who has to balance working in the engineering field and presenting their ideas to their colleagues. The design must therefore be resilient and easy to use. The user is also the type who likes to complete back of the envelope calculations in order to plot out their ideas. Finally, the consumer would like the white board notebook because it reduces the amount of paper they use. This eco-conciseness of the supplies they use makes them want a pad folio which stand up to time.

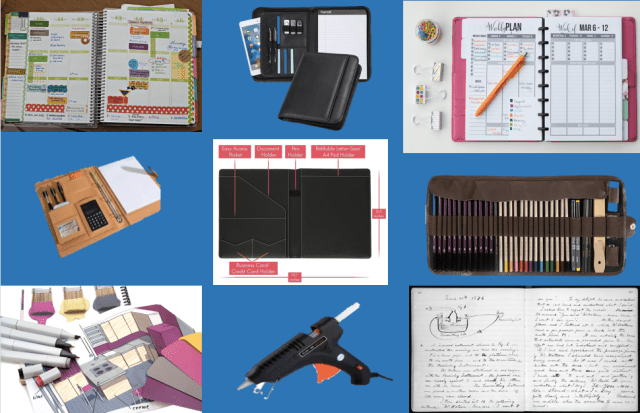
The second mood board is the inspiration for my fabrication process and design. The idea for my design is a combination of planar, notebook and sketchbook.
Design Process
During the design process I had a list of decisions to make which I did through thumbnail sketches and rapid prototyping tests. Some of the major questions were as follows:
- How to bind rigid materials (whiteboards) into a spine?
- How to make the spine of the book still look appealing and functional?
- Whether to add a space for writing/drawing utensils and if so how many and where?
- How to prevent the marker from smudging while the whiteboards were in the closed mode?
- What materials would be best for my project?
I started by sketching out a few thumbnails of what my final might look like


The issues I had the most trouble conceptualizing was the spine and the spacers that would prevent the whiteboards from touching and rubbing off. Because of this I created mock ups of what my final might look like so I could test them out. I created four mock spines one of which is depicted below out of cardboard and plastic. I also 3-d printed one spacer which turned out to have too large a radius and encroached too much on the board so I altered my design for the final.

Fabrication
The first step of my fabrication process was gathering the materials
- 1/8 inch white Acrylic
- Pleather Black Fabrick
- Reversible White Boards
- Adhesive
- Sheet Protectors
- Stretchy Material <1/2″ thick (Hairbands)
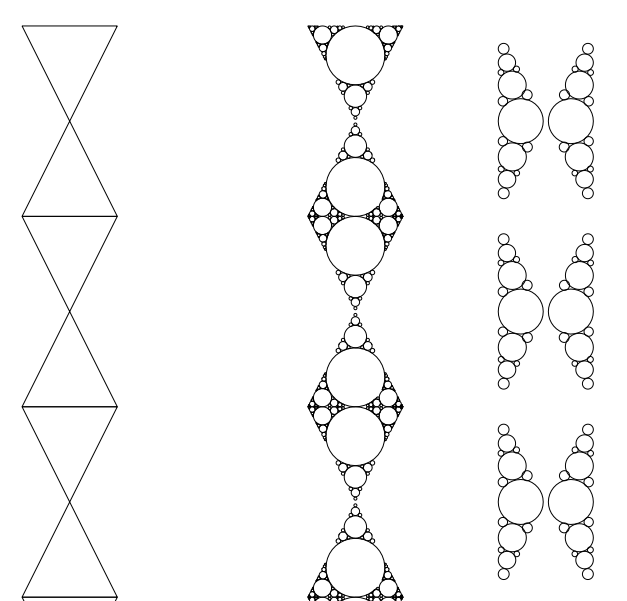
I cut the front back and spine of the pad folio using a laser cutter. I also rastered in designs on the acrylic spacers that would be attached to the whiteboard. The designs were inspired by the concept that infinitely many circles can fit in a triangle which is something i doodled in high school to check and thought the design looked cool.
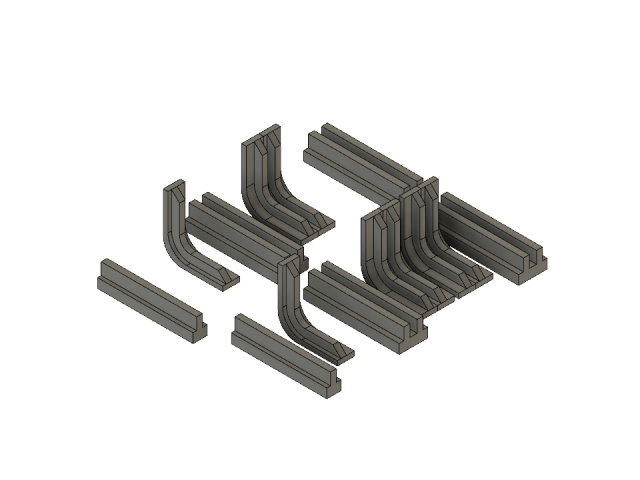
After I rastered and cut the acrylic I 3-d printed the spacers. I designed two type of spacers. One to hold a white board on either side and one to create space between the object below the spacer and the whiteboard. The cad of the spacers can be seen below.
The assembly process was fairly intuitive but there are a few images below to see the progression of the assembly.


Improvements to the design in future iterations
- The decorative acrylic is too wide or the front and back pieces are too small a change happened in the design process which was not accounted for in the size calculations which lead to this error. In future iterations this should be fixed.
- The rubber bands on the spine greatly improve the functionality however in future work I would hope to add a covering to the piece so the crinkles caused by the bending are not shown.
- I would also prefer to add the rubber bands completely before or after covering in the middle caused problems.
- If improved adhesive was found I would also like to add more white boards to the design there were significant issues with the adhesion
- Finally as I improved my knowledge of the adhesive I would hope futer iterations would be made cleaner
